How-To Guides
How to Add an SRT File to Premiere Pro
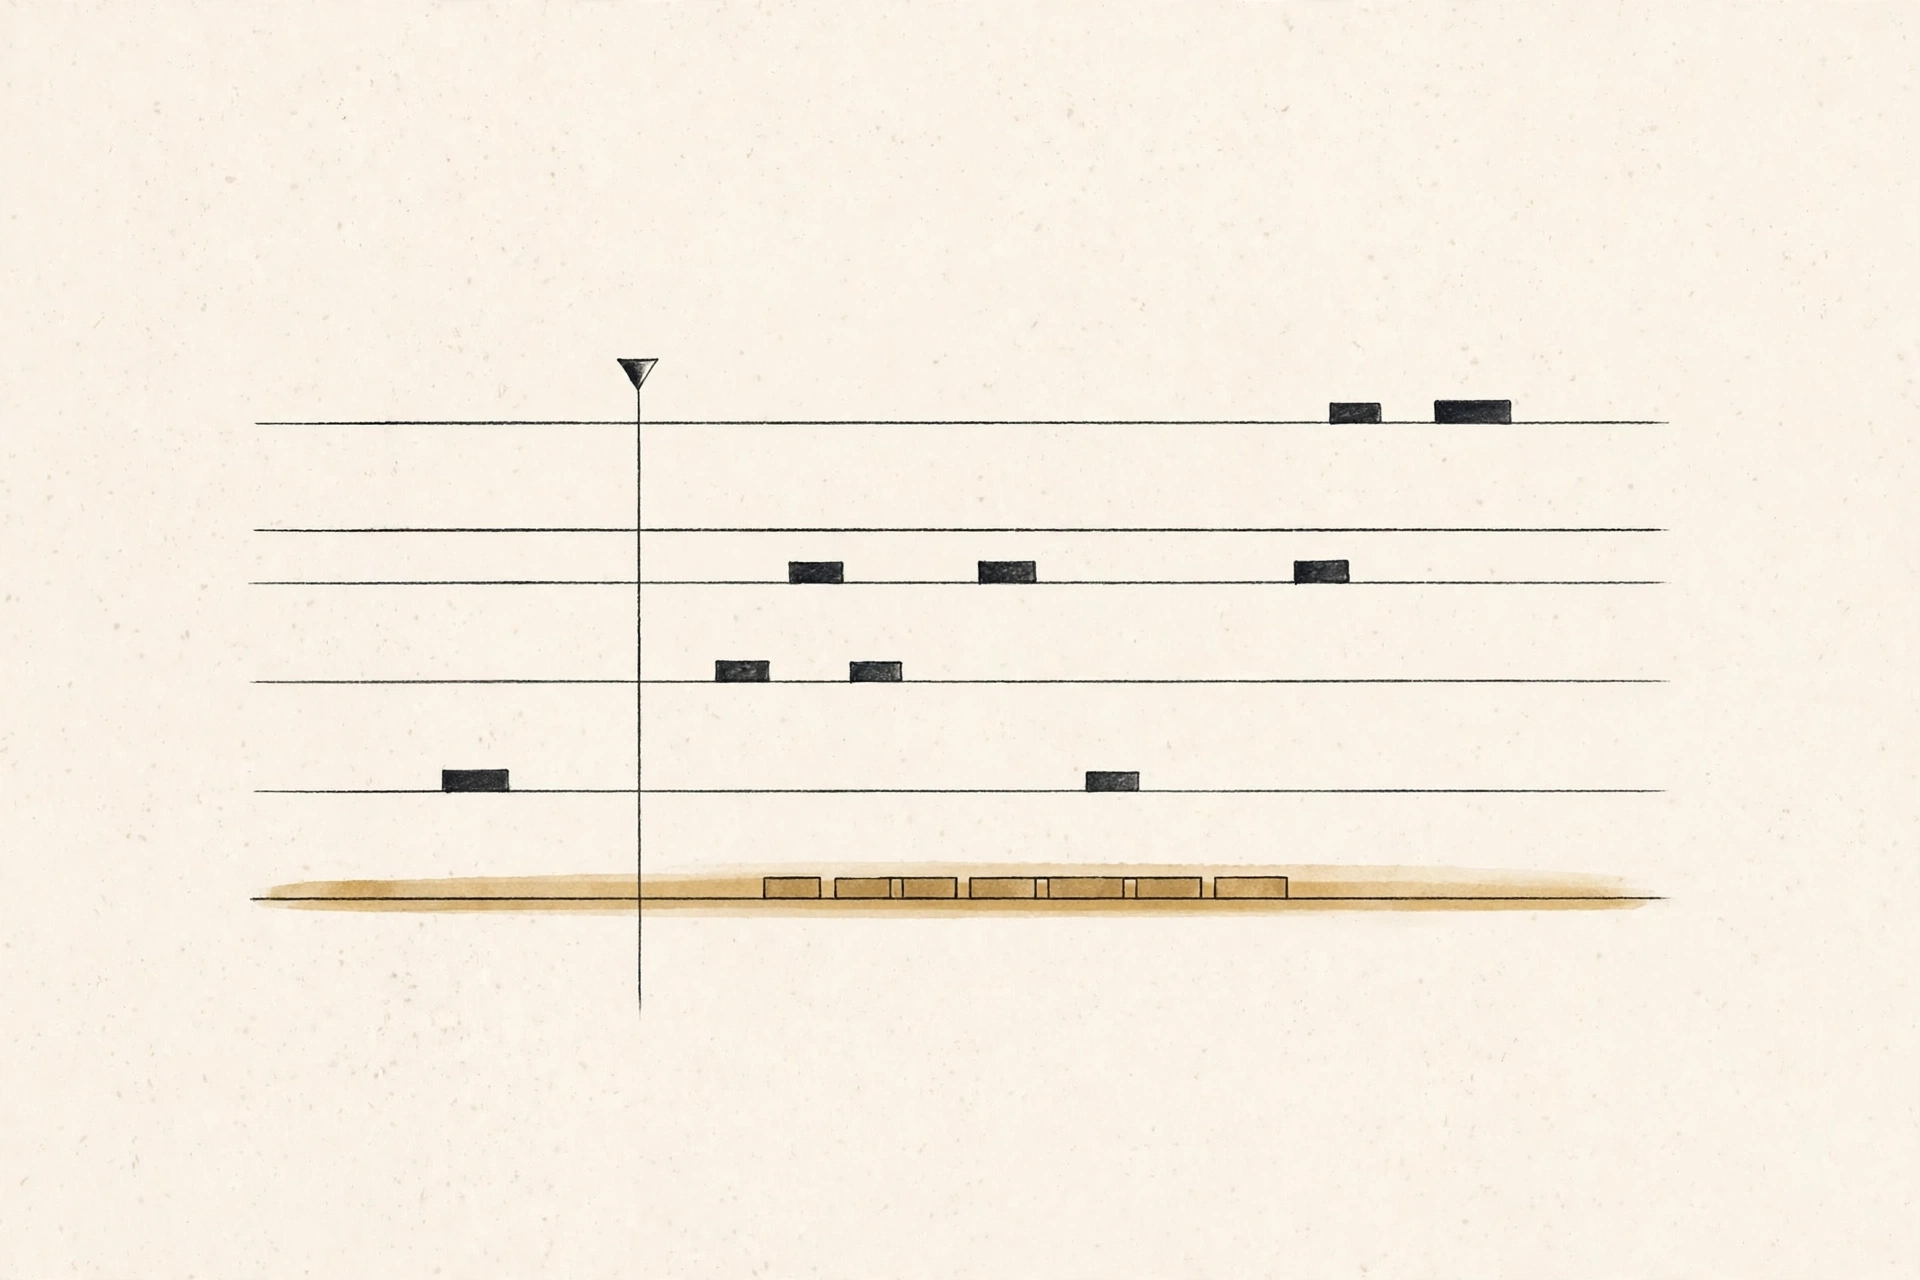
Premiere Pro has a built-in transcription feature, and it is decent. But there are plenty of reasons to bring your own SRT: you had it transcribed elsewhere, a client sent you one, you need it in a language Premiere handles badly, or you simply want the text reviewed before it ever touches the timeline. Adding an SRT to a Premiere sequence is a short, predictable process — import, drag, adjust.
Before you start: check the SRT
Most SRT problems in Premiere come from the file, not the program. Open it in a text editor and confirm three things:
- The format is standard. Numbered blocks, timestamps in the form
00:00:00,000 --> 00:00:03,200(note the comma before milliseconds), then the caption text, then a blank line. An example:
1
00:00:00,000 --> 00:00:03,200
Welcome to the first step.

2
00:00:03,500 --> 00:00:07,000
Import the SRT file into your project.
- Captions do not overlap. Each caption's start time must be after the previous caption's end time, and each caption should last at least about one second. Overlapping or zero-length captions import badly.
- The encoding is UTF-8. If your captions are in Hindi, Urdu, or any non-Latin script, save the file as UTF-8 (or UTF-8 with BOM if glyphs look wrong after import). ANSI-encoded files garble non-Latin text.
Step 1: Import the SRT
- In Premiere Pro, go to File > Import (or press Ctrl+I / Cmd+I).
- Select your
.srtfile and click Import. - The SRT appears in the Project panel as a caption item, just like any other piece of media.
Step 2: Add it to the sequence
- Open the sequence you want to caption.
- Drag the caption item from the Project panel onto the timeline. Premiere Pro creates a caption track above your video tracks and populates it with the captions at their timestamps.
- Select any caption segment to see its text in the Text panel (Window > Text, Captions tab). Click a caption to edit its wording or drag its edges to retime it.
Step 3: Style the captions
Imported SRTs land with default styling. To make them look like your video:
- In the Text panel, select the caption track or individual captions.
- Use the Essential Graphics panel to set font, size, colour, background, and position. A track style applies to all captions at once; per-caption tweaks override it.
- Keep broadcast-style conventions: two lines maximum, white text with a subtle background or outline, positioned in the lower third but clear of any platform UI (especially for vertical exports).
If you plan to make the big animated word-by-word style popular on Reels and Shorts, that is easier with a text-based approach in a tool like After Effects or a dedicated caption app. Premiere's caption track is built for readability, not motion graphics.
Step 4: Export — sidecar or burned-in?
When you export (File > Export > Media), the Captions tab gives you the decision that matters:
- Create sidecar file: exports a separate
.srtalongside the video. Choose this for YouTube: upload the video and the SRT together, and YouTube gets perfect closed captions it can also translate. - Burn captions into video: bakes the text into the picture permanently. Choose this for Instagram Reels and TikTok, where uploaded SRTs are not supported.
- Embed in output file: writes captions into the container for broadcast formats. Most online creators will not need this.
When in doubt, export both: a clean master with a sidecar SRT for YouTube, and a burned-in vertical version for social.
Troubleshooting common SRT imports
- Captions land at the wrong time: check whether the SRT was made for a different frame rate or a trimmed clip. Retime against the audio waveform — captions should start just as the words are spoken.
- Text shows as boxes or question marks: the file encoding is wrong. Re-save as UTF-8 and re-import.
- Premiere merges captions oddly: look for missing blank lines between blocks or overlapping timestamps in the file.
- Prefer not to import at all? Premiere's Text panel can transcribe the sequence itself (Transcribe sequence) — handy for a rough draft you then correct. For short clips a dedicated tool is faster.
Nailing the timing
Imported captions land at the SRT's timestamps, which are rarely perfect. A quick timing pass makes the difference between captions that feel professional and ones that feel pasted on:
- Work against the waveform. Zoom the timeline until you can see the audio waveform, and drag each caption's in-point to the exact moment speech starts. Captions should lead the words by a frame or two, never trail them.
- Respect reading speed. A common broadcast guideline is around 17–20 characters per second. If a caption flashes by too fast to read, split it into two captions rather than stretching the timing past the audio.
- Mind the minimums. Captions shorter than about one second are hard to read; merge very short fragments with their neighbours.
- Clear captions during pauses. Do not let a caption linger over two seconds of silence just because the SRT's end time was generous. Trim it to the speech.
Captions in other languages
Premiere handles multilingual captions well as long as the file is prepared correctly:
- Save as UTF-8. This is the step people skip. An SRT saved in a legacy encoding will show Hindi, Urdu, Arabic, or Chinese text as boxes or gibberish after import. Re-save as UTF-8 (with BOM if glyphs still look wrong) and re-import.
- Check font support. The caption font you choose must contain the script's glyphs. Premiere's default fonts cover Latin; for Devanagari or Arabic scripts, switch to a font with full coverage (Noto Sans is a reliable free choice).
- Right-to-left scripts need care. Urdu and Arabic captions should render right-to-left automatically in modern Premiere versions, but verify the line order on screen. Punctuation can jump to the wrong end of a line.
- One SRT per language. For multilingual delivery, import each language as its own caption track. You can then export separate sidecar files per language, or toggle tracks for different versions.
Key takeaways
- File > Import, then drag the SRT onto the timeline. Premiere builds the caption track for you.
- Validate the SRT first: standard timestamps, no overlaps, UTF-8 encoding.
- Edit and style in the Text and Essential Graphics panels.
- Export a sidecar SRT for YouTube, burned-in captions for Reels and TikTok.
Need the SRT itself? Generate one free with Captionbench: transcribe in your browser, download the file, and import it straight into Premiere.