How-To Guides
How to Convert MP3 and WAV Files to Text in 3 Easy Steps
You have an audio file, an interview, a lecture, a voice memo, a meeting recording, and you need the words on a page. Typing it out by hand takes roughly four to six times the length of the recording. The alternative takes three steps and, for most files, costs nothing.
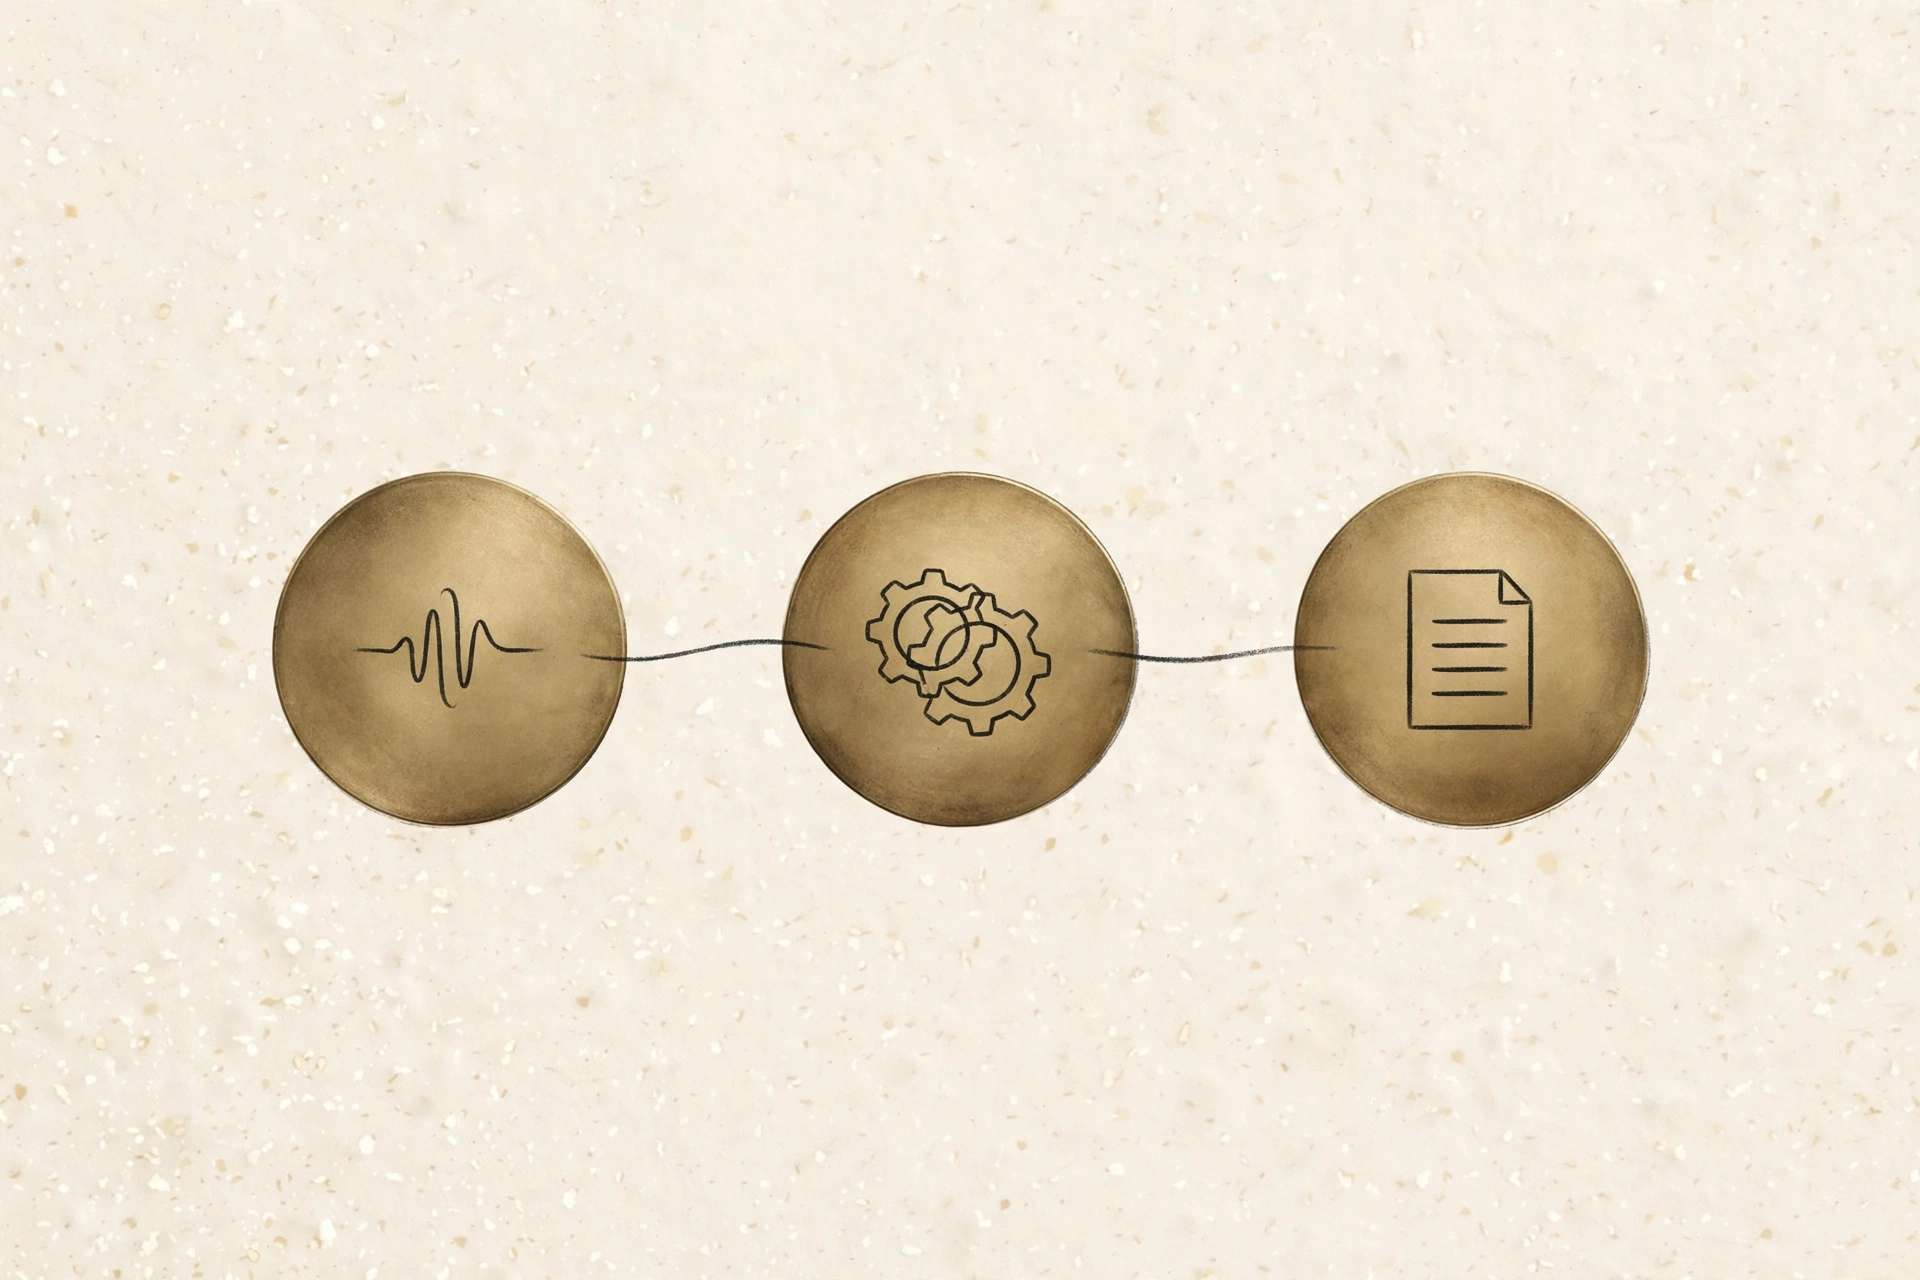
The three steps are always the same: pick a transcription method, feed it the file, tidy up the result. What changes is which method suits your file. Here is how to choose, and how each one works.
Step 1: Pick the right free method for your file
Start with two questions: how long is the file, and can it leave your device?
- Short files (up to a few minutes), keep it private: use an in-browser tool like Captionbench. It handles MP3, WAV, M4A and more, up to 3 minutes and 25 MB, and transcribes on your device — the file is never uploaded. Good for voice memos, clips, and short interviews.
- Longer recordings, meetings and lectures: Otter.ai's free Basic plan gives you 300 transcription minutes per month, capped at 30 minutes per conversation, with only 3 lifetime audio file imports. Fine for occasional use; the import cap is the real constraint.
- You want to re-speak it yourself: Google Docs' built-in voice typing (free, in Chrome) transcribes live speech as you dictate — play the audio out loud and it types what it hears. Clunky, but it works in a pinch.
If the audio is sensitive (client calls, medical or legal material), prefer the option that never uploads it. Cloud transcription means your audio sits on someone else's servers under their retention policy.
Step 2: Run the transcription
Using the in-browser route as the example, since it is the quickest for the common case:
- Drop the file in. Open the tool page and drag your MP3 or WAV onto the drop zone. WAV files are uncompressed, so watch the size: a 3-minute WAV at CD quality is roughly 30 MB, which is over the 25 MB limit. If yours is too large, convert it to MP3 first (any free converter will do; the transcription quality is unaffected).
- Choose the language. Pick the language spoken, or leave it on auto-detect. The model supports English, Hindi, and Urdu among others — set it explicitly when you know the language, since that nudges accuracy up.
- Start and wait. The transcription model downloads on first use (about a minute, once), then processes your file locally. A 3-minute file typically takes a minute or two on a modern laptop.
The result appears as timestamped caption rows in a timeline editor. For a plain-text transcript, export as TXT. For subtitles, export SRT or VTT.
Step 3: Tidy up the result
No automatic transcript is perfect. Budget a short review pass. It is still an order of magnitude faster than typing from scratch. Work through these in order:
- Fix proper nouns first. Names, places, brands, and technical terms are where every speech model stumbles. Search the transcript for the ones you know should be there.
- Check numbers and dates. "Fifteen" vs. "fifty" matters. Read every number back against the audio if the transcript will be quoted.
- Repair punctuation and paragraphs. AI transcripts tend to run sentences together. Break them at natural pauses so the text reads like writing, not a word stream.
- Strip the filler — or don't. For a readable transcript, remove most "um", "uh", and false starts. For legal or research use, keep them; disfluencies are data.
A tidy plain-text transcript looks like this:
[00:00:12] So the way we think about pricing
is pretty simple. Most of our customers
never look at the pricing page.

[00:00:21] They come through a referral,
they talk to sales, and the invoice
just shows up in their inbox.
When the free options hit their limits
Know where each method stops so you are not surprised:
- File too long or too big? Split it into chunks under the limit, or use a service built for long audio. Otter.ai's free tier covers 300 minutes a month for live recording.
- Multiple speakers talking over each other? Expect errors from every free tool. Otter.ai's speaker identification helps on the free tier; otherwise, label speakers manually in the review pass.
- Heavy accents or jargon? Slower, clearer source audio helps more than any setting. If you control the recording, a decent microphone beats a better model.
- Need it done at scale? If you are transcribing hours every week, that is the point where paid tools (Descript's free plan covers about an hour a month; paid transcription services charge per minute) start to make economic sense.
Preparing your audio before transcription
Ten minutes of preparation routinely saves thirty minutes of correction. Before you run any transcription:
- Trim the dead air. Cut long silences at the start and end. Most tools transcribe silence fine, but it wastes processing time and your review time.
- Normalise the volume. Quiet recordings force the model to guess. If the waveform looks like a flat line, raise the gain in any free audio editor (Audacity works) until peaks sit comfortably below clipping.
- Reduce obvious noise. You do not need studio silence, but a recording made next to a running fan will transcribe noticeably worse. Record in a quiet room when you have the choice; apply light noise reduction when you don't.
- Convert odd formats first. If your file is M4A, OGG, or an old WMA, convert it to MP3 or WAV before uploading. Converters are free and plentiful, and it removes one variable when something goes wrong.
- Split very long files. Most free tools cap length or size. Cutting a 40-minute interview into 10-minute segments takes a minute in Audacity and lets you process it in parallel.
None of this requires skill. It just takes the habit of spending five minutes on the file before expecting the machine to read it perfectly.
Key takeaways
- The workflow is always: pick a method, run the file, review the text.
- For short MP3/WAV files, in-browser transcription is free, fast, and keeps the audio on your device.
- Watch format limits. WAV files are large, so convert to MP3 if you hit a size cap.
- Always review proper nouns, numbers, and punctuation before using a transcript.
Have an audio file waiting? Drop it into Captionbench and get a timestamped transcript in a couple of minutes. Free, no account, nothing uploaded.